
寝床椅子の開 2/4
/Development of chaise longue 2/4
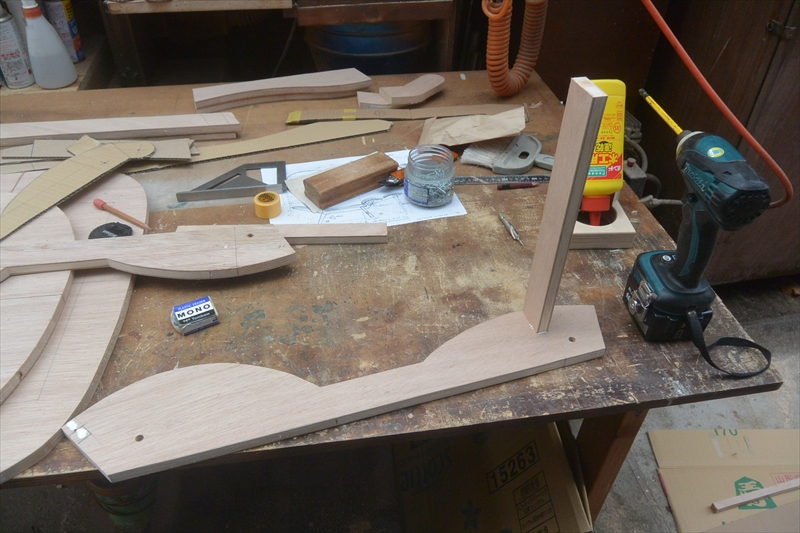
Start assembling the frame.

Assemble the frame,

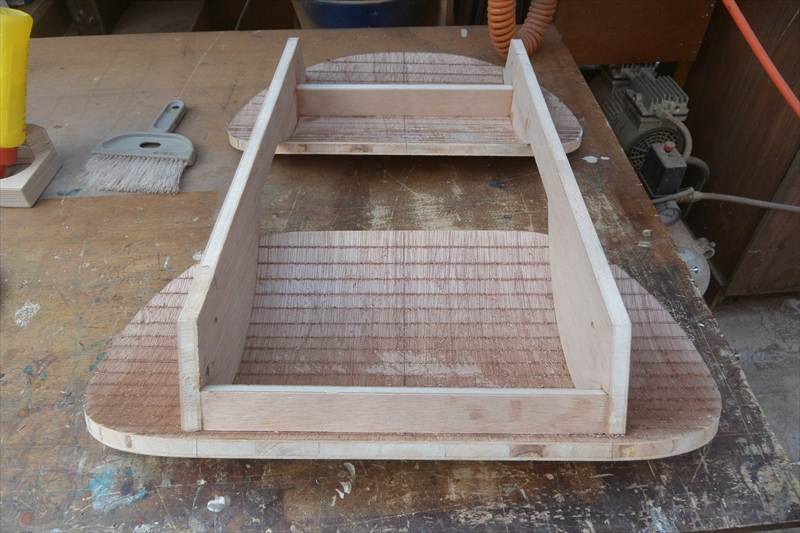
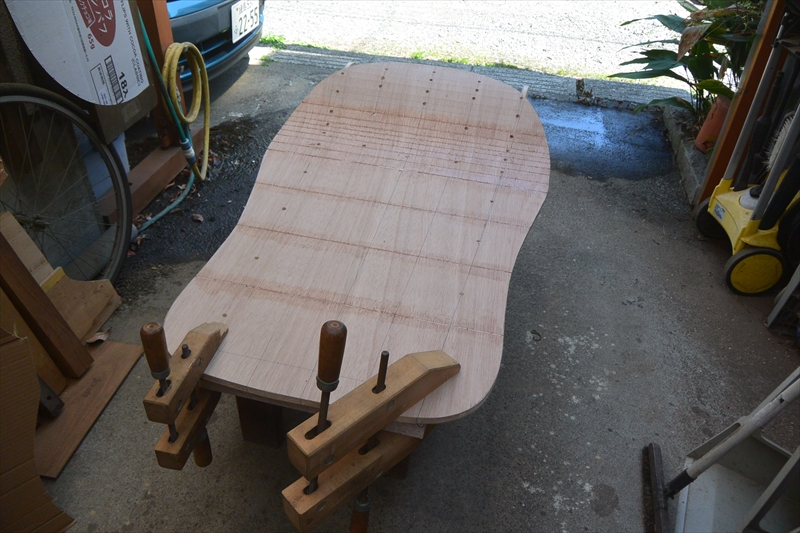
Put on a surface that supports my body. Wet it with water and let it bend, then attach adhesive and secure it with a string.

Tie it to the work fee and let it fit in the shape.

Push the glue into the groove before gluing. This will create a curved surface that retains its shape.

Seen from below, it looks like this.

It’s like the Wright brothers’ plane.
Actually, I like airplanes, so I designed it with the Wright Flyer in mind.
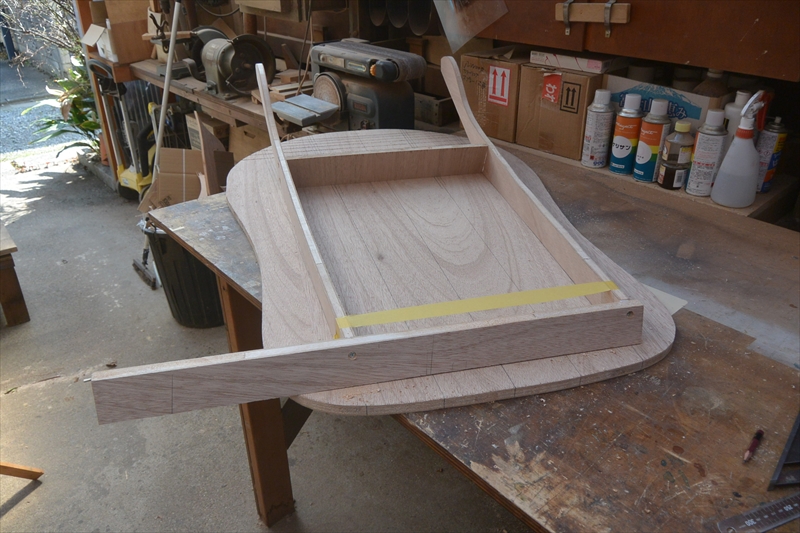
The seat surface is also starting to assemble the frame.

Since it is a place where a lot of force is applied, we will assemble it accurately so that the adhesive surface is in close contact.

Similarly, push the adhesive firmly into the groove.
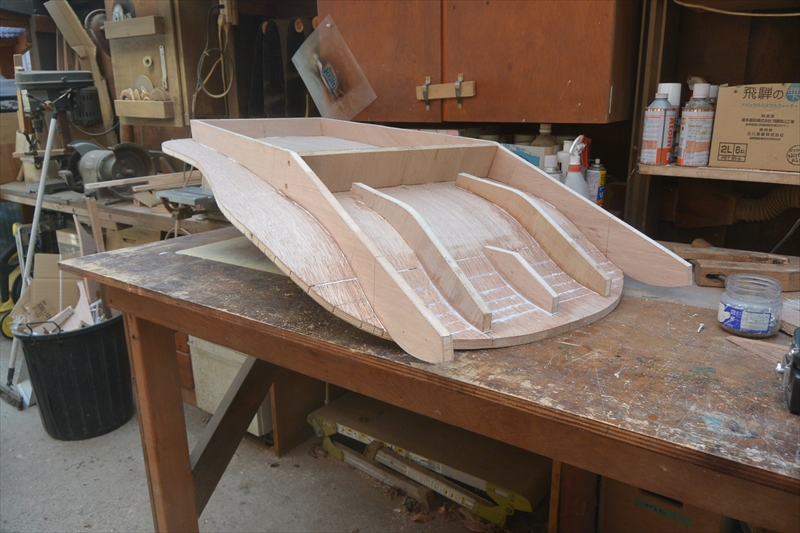
The wide part is reinforced by adding a power tree on the back so that the shape can be maintained.
The part in front of you where force is particularly applied should be firmly sandwiched and crimped with a vise.
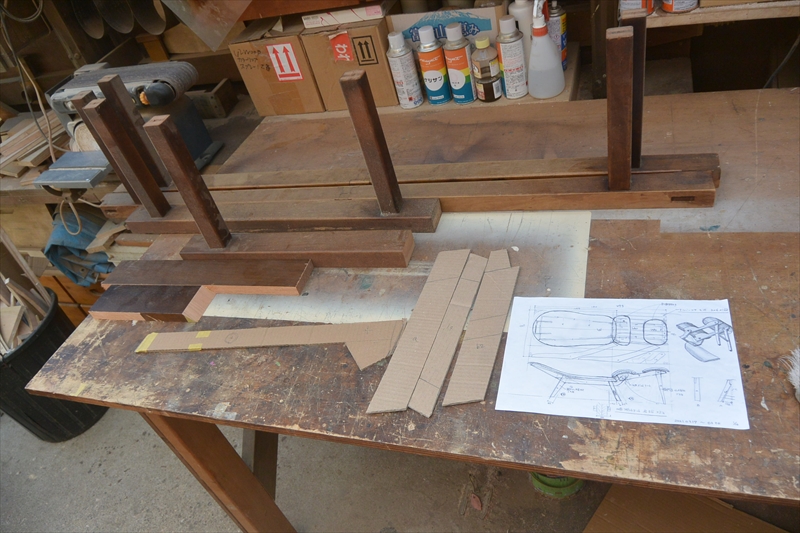
Next is the production of legs. The material used is the well-dried and hard “Yamazakura” that used to be skeleton of “Kotatsu”.

Make a pattern while checking the sketch

It is a cut leg, it has a complicated angle, but it is the most powerful part. Since it has a large effect on the appearance of the finished product, it will be difficult to process, but I dare to angle it.

I scraped off the surface. The beautiful bark of “wild cherry” appears. Looking at this situation, I decided to finish this time with oil finish after dyeing. It should be a powerful finish that does not care about differences in materials or small scratches.

Start making legs that can be stored. I didn’t have enough width, so I glued it to gain width. There will be some traces of wood fittings that were left over from the time when it was a kotatsu turret, but that will give it a taste, so I will use it as it is.
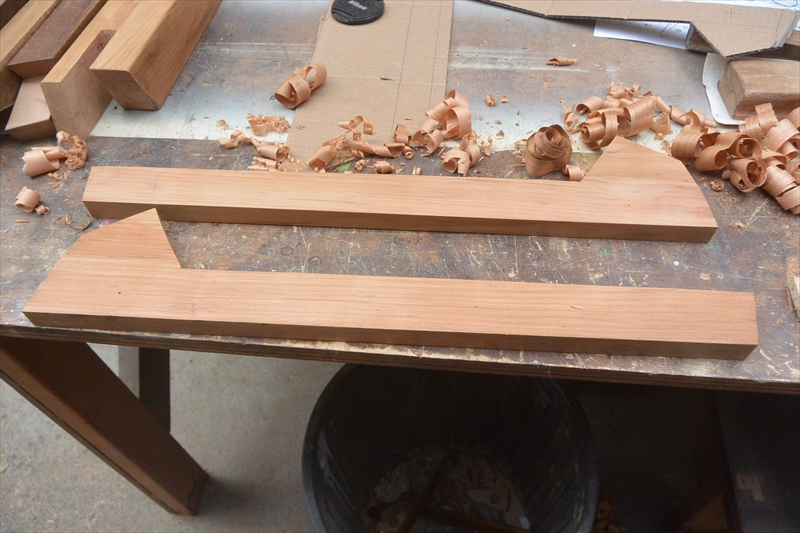
When the surface is carved out, the beautiful grain and surface of wild cherry will appear. I used a plane for the first time in a long time. I sharpened the blade, but the material is well dried so I can sharpen it comfortably. The scent of wood is also pleasant. After all, old hand tools are good, and they also raise the feelings of the creator.
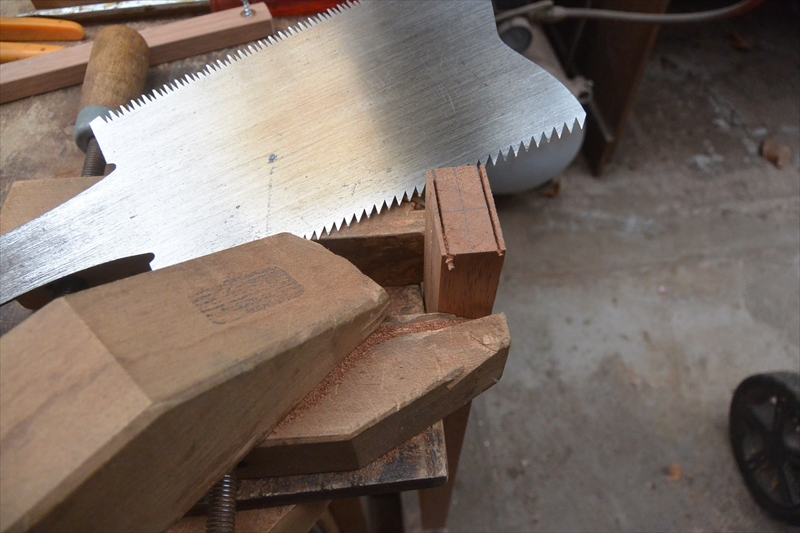
After all, the places where power is applied are connected by the ancient wood fittings. It is a cutout of wood fittings. This grooving saw is made from a chipped saw, but it cuts very well.

It’s a difficult leg attachment, it’s a nasty structure with both front and side angles.

The cross rail is fixed with a long screw that penetrates the leg. Great care must be taken to drill the pilot holes at the correct angle and join them firmly. Temporarily assemble to ensure assembly accuracy.

This is the final confirmation before assembly. After this, I put an adhesive and joined it firmly. When it’s really important work, I can’t always take pictures, because I have to immerse myself in the work.
(55)-3に続く
Continue to(55) -3