
寝椅子開発 3/4
/Development of chaise longue 3/4
Once the glue is completely cured, I’m experimenting with it to determine the thickness of the cushion.
Try laying out various cushions on hand and actually sit or lie down.
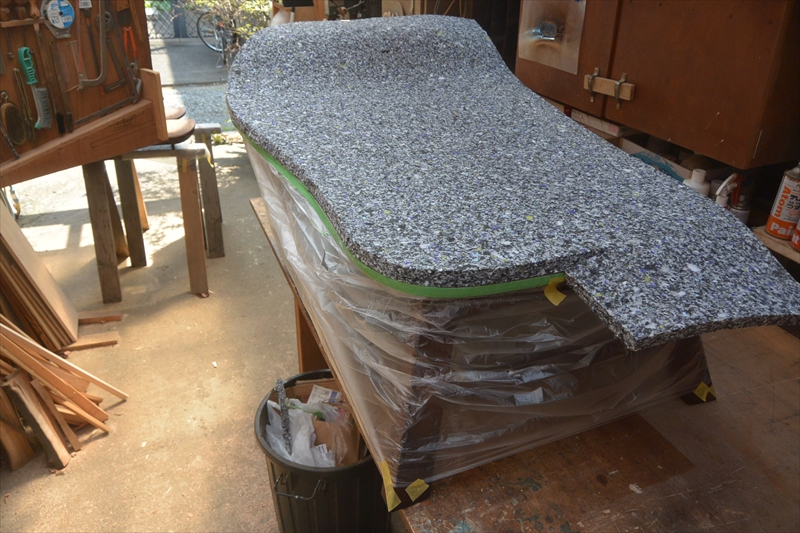
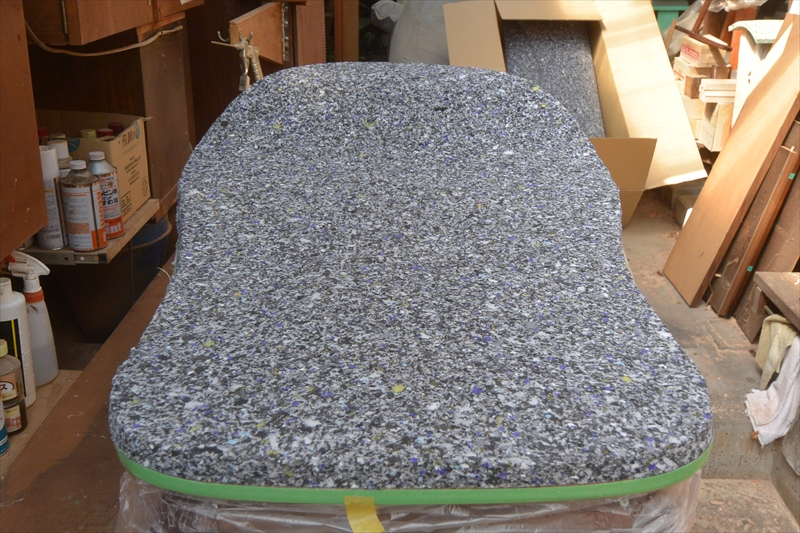
Finally, I decided to put a soft cushion 90mm on top of a hard cushion 20mm. Because the cushion is on the curved panel, you can’t get rid of the feeling of hitting the bottom with just a soft cushion.
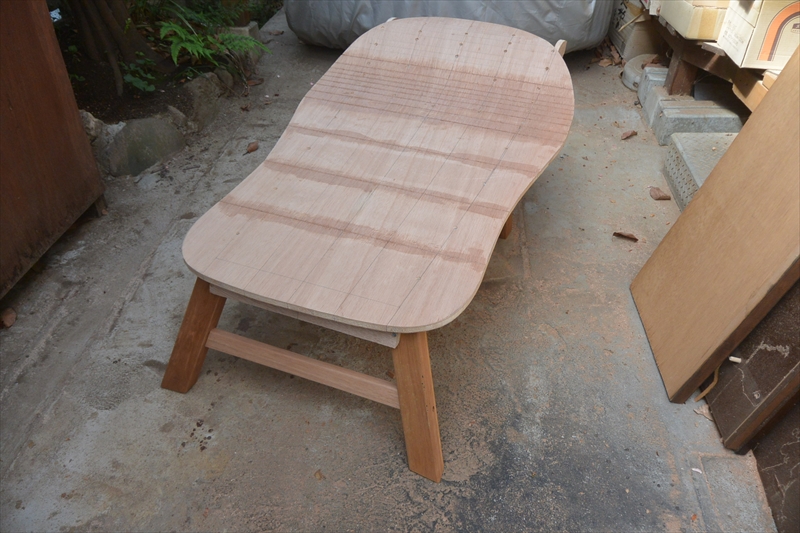
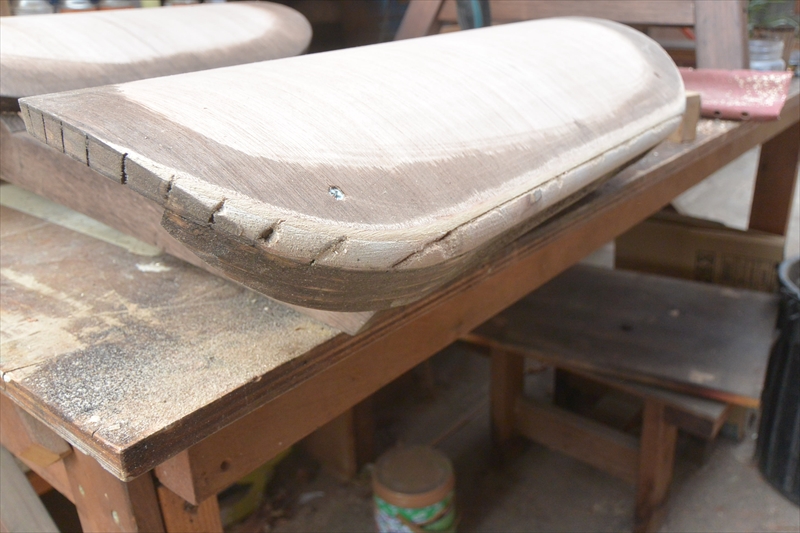
Now, shape the corners of the leg rest.
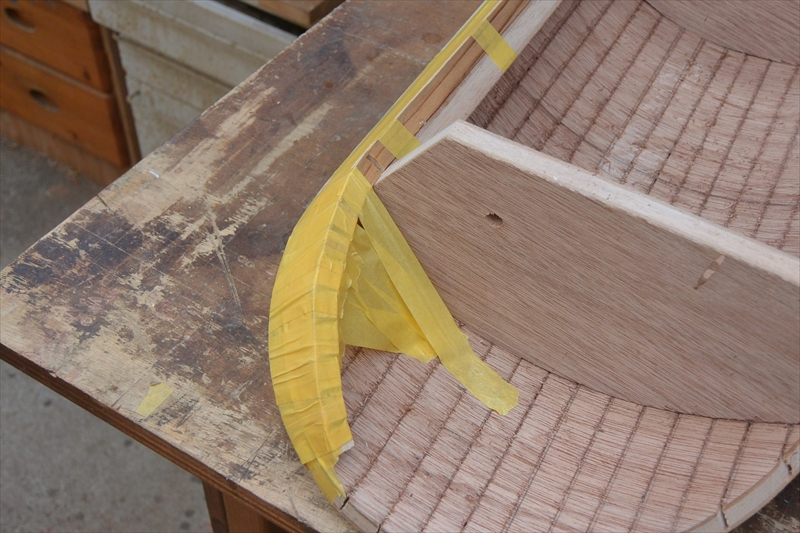
If you put your weight from the edge direction, the corner of the inner frame will hit. So make the fore edge wider. I made this shape to disperse the pressure.
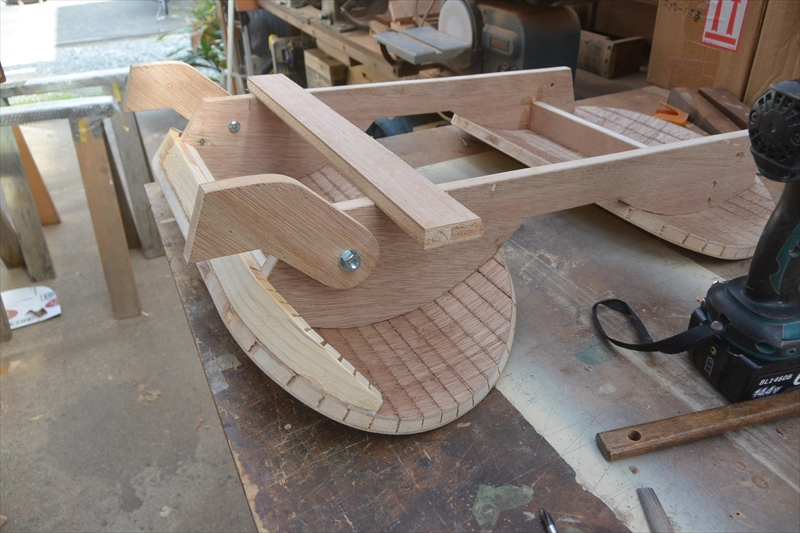
The inside is a 17mm nut. Since this is a moving part, we plan to use a double nut in the end.
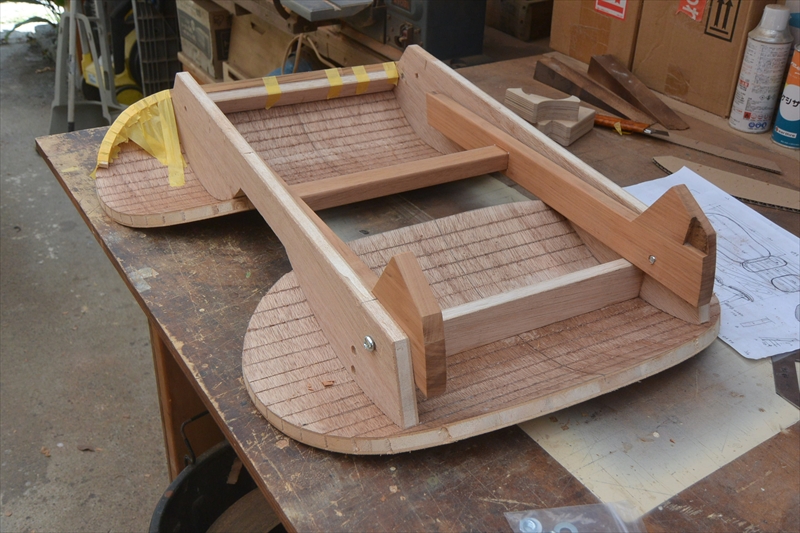
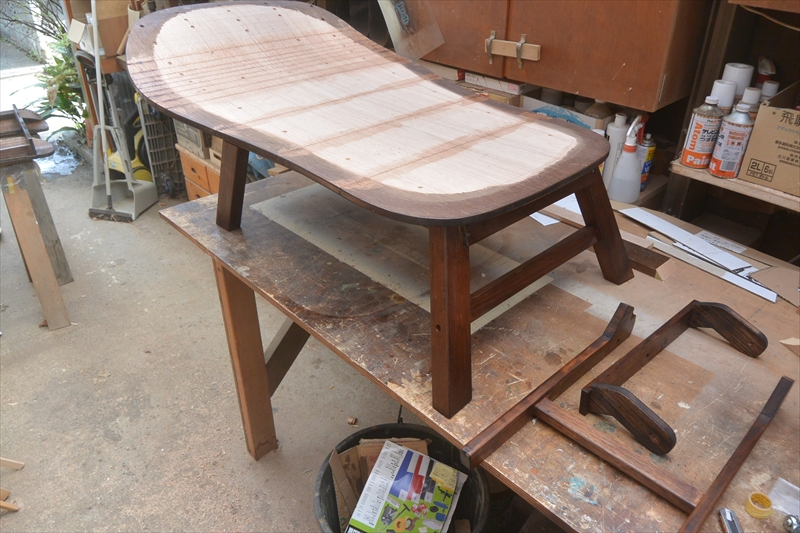
I will try to attach the joint member with the seat surface.
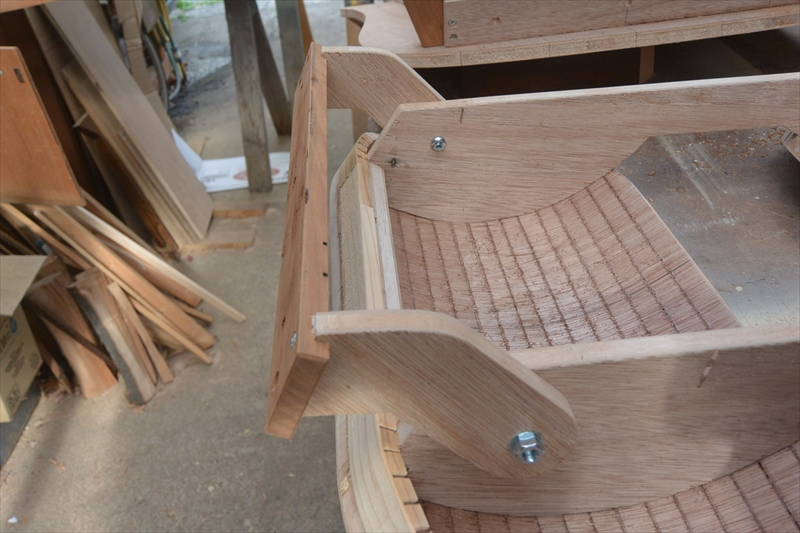
This plate-shaped pedestal is fixed to the frame under the seat surface. The fixing screw is a screw nut with a diameter of 8 mm.
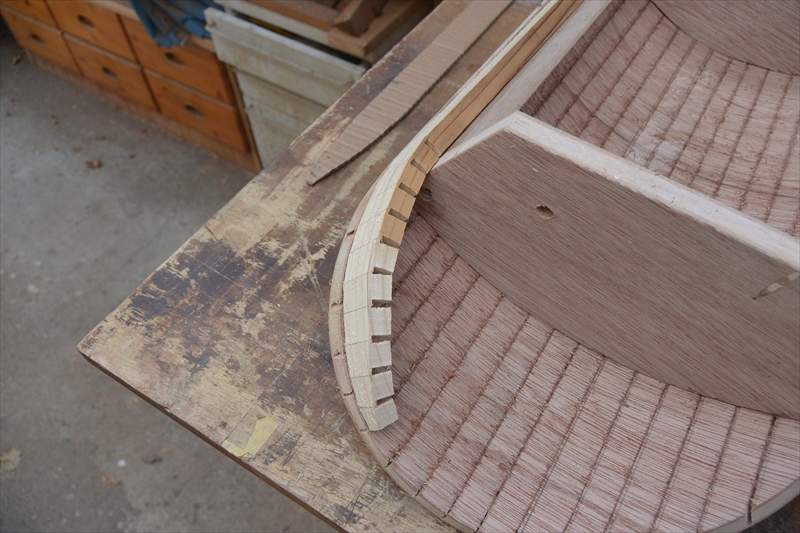
Now, shape the corners of the leg rest. We will start painting the finished seat surface. First, finish the outer edge,
Dyes everything you can see after the fabric is stretched. This time I chose a dark oak color.
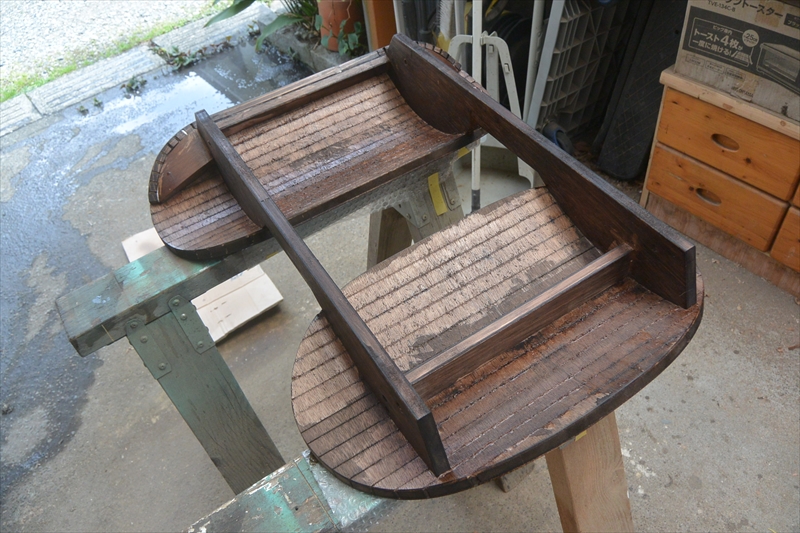
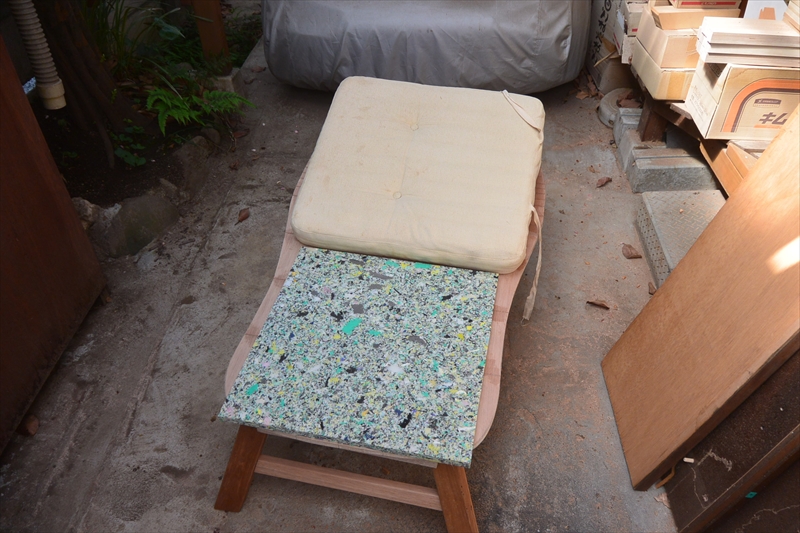
The base on which the legs are placed is movable, so the back side is also finished.
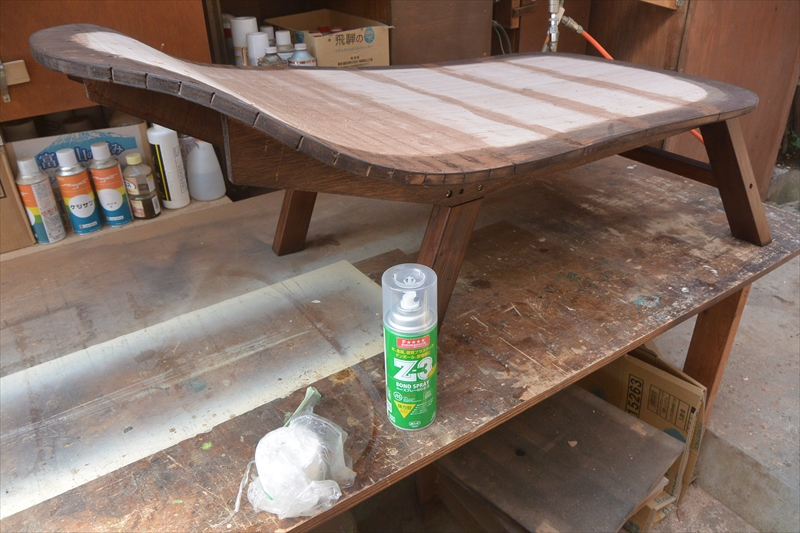
It’s finally time to start the work of upholstering the chair. I got a spray-type temporary fixing material this time. This Z-3 is used for temporary fixing of cushion material
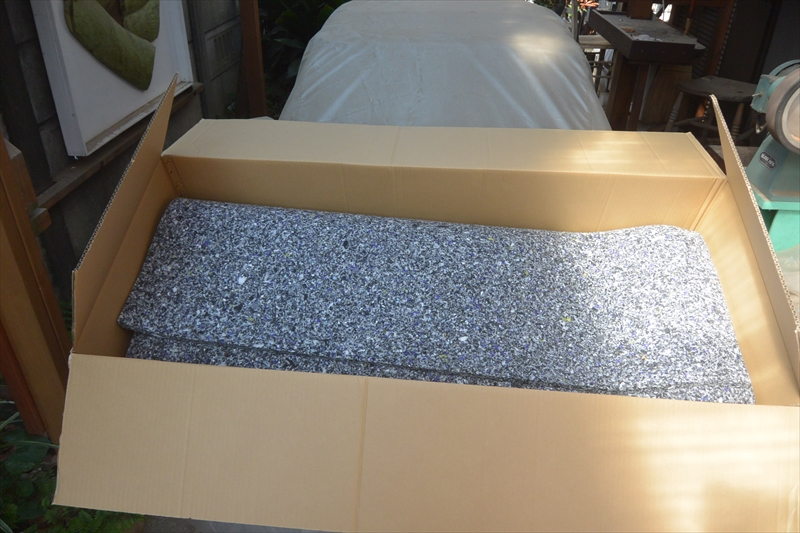
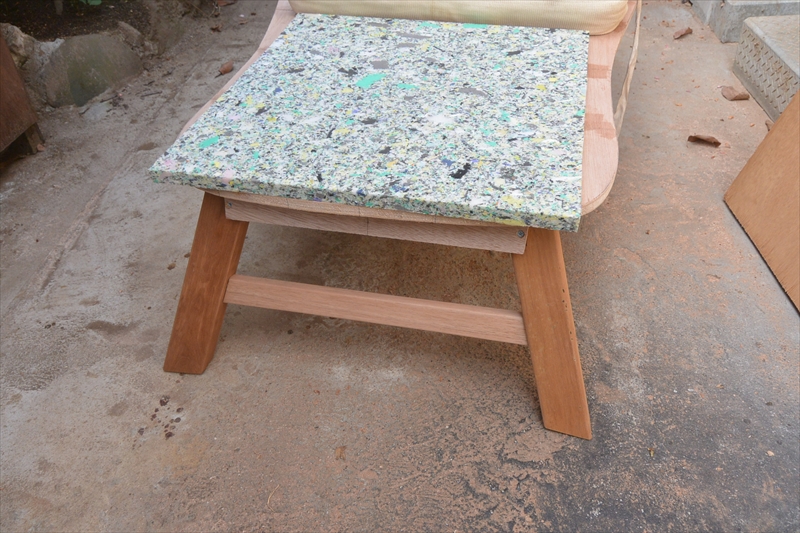
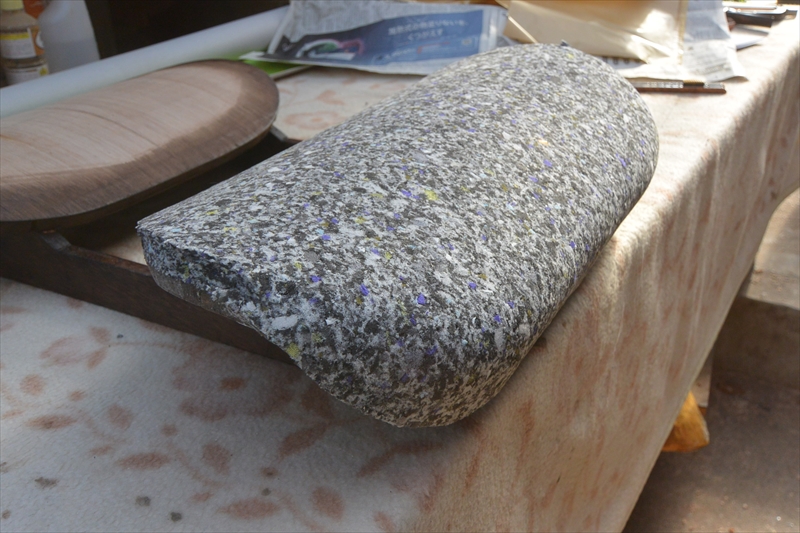
Urethane sponge is used for the first cushion material this time. A 20mm thick cushioning material that is made by mixing urethane sponges of various colors into chips to give them appropriate hardness and suppleness.
After temporarily fixing this urethane sponge with a spray, cut off the excess outer circumference and cut off the excess part.
It looks like this when you finish cutting.
Then, temporarily fix a soft 90 mm thick sponge material and cut it out.
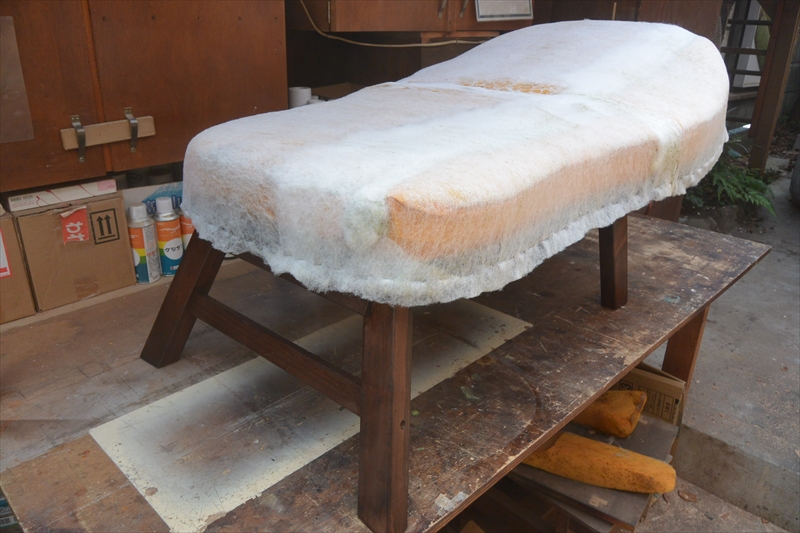
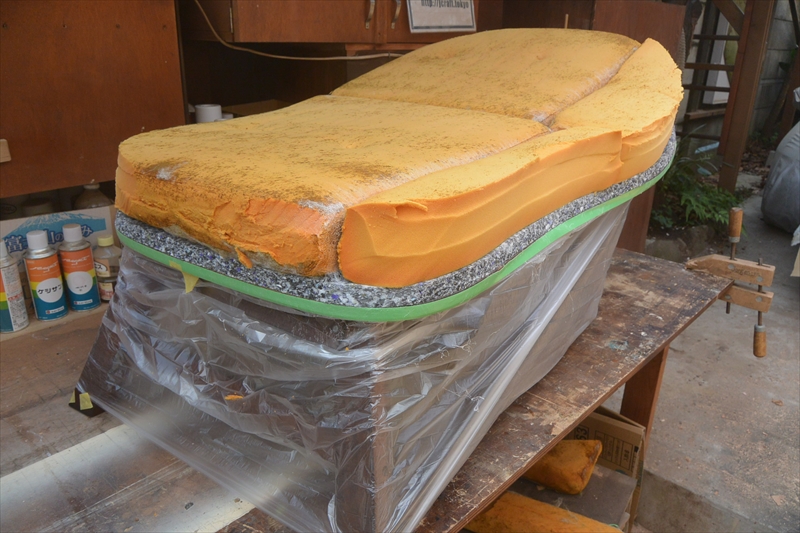
Spread cotton at the end of the cushion shaping process. I also pushed this cotton into the cracks at the joint of the cushion, pulling the two layers of cushioning material to the frame with this cotton that seems to be synthetic fiber, fixing it with a tucker and gently shaping it.
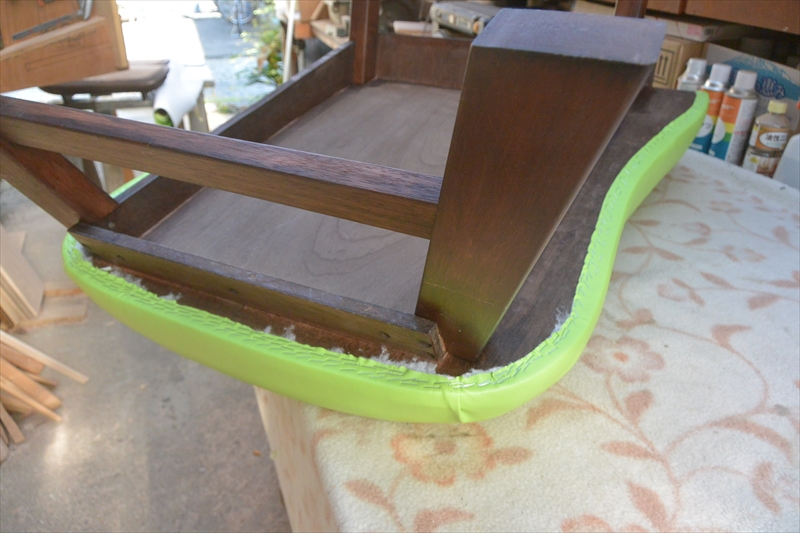
Looks like when viewed from the rear.
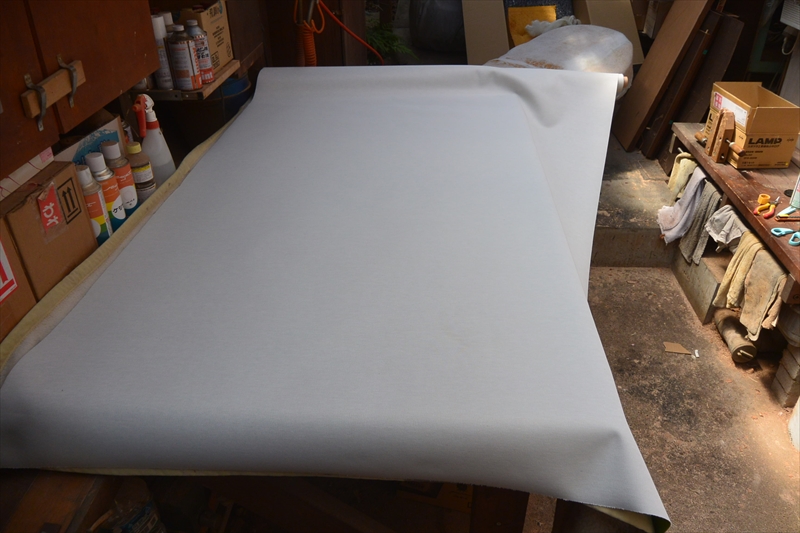
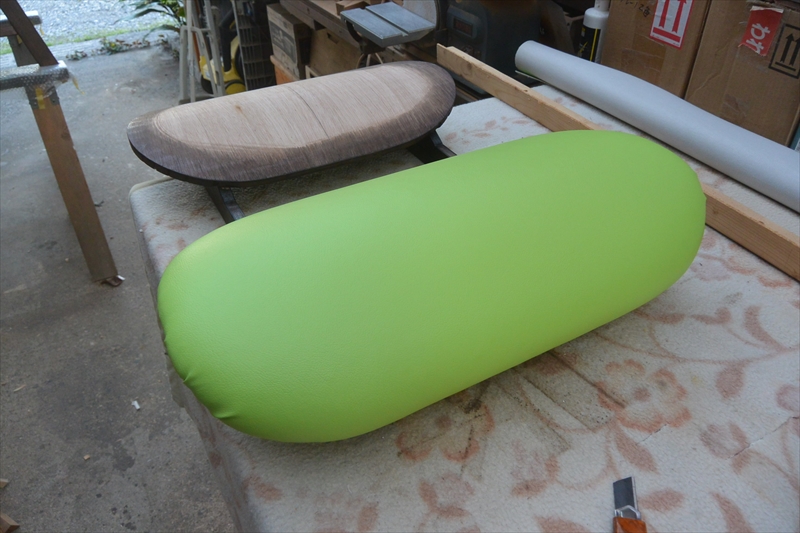
Next, spread the silicone-based synthetic leather and start upholstering with a gun tacker.
This synthetic leather is a product that stretches considerably and easily fits into a cubic curved surface. I couldn’t take a picture of the upholstery process itself, which means that I had a lot of trouble with this process. With the goal of finishing without gathering as much as possible, I rehashed the tacker many times and managed to reach the shape like the saddle of this bike.
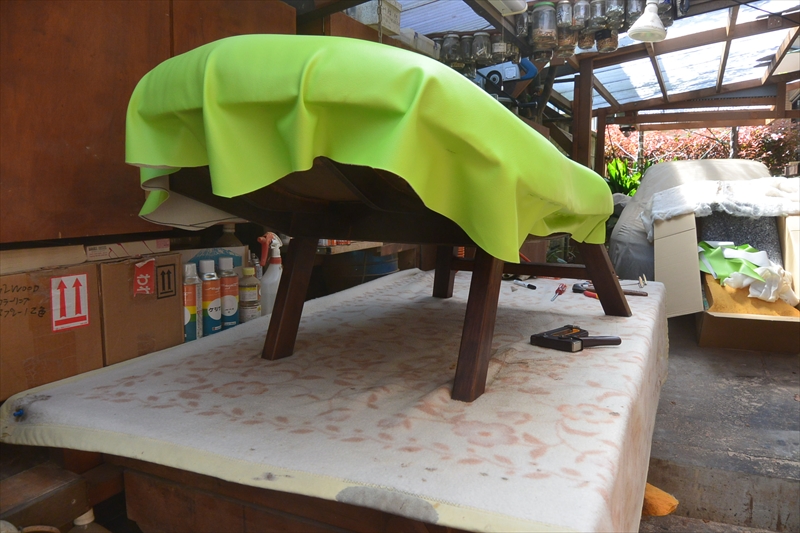
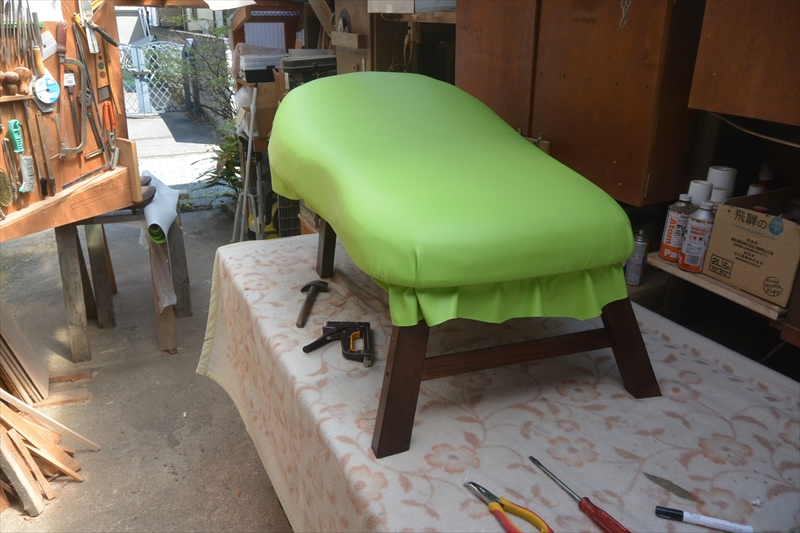
After this, this side has re-stopped the tacker many times and completed it with only one gather.
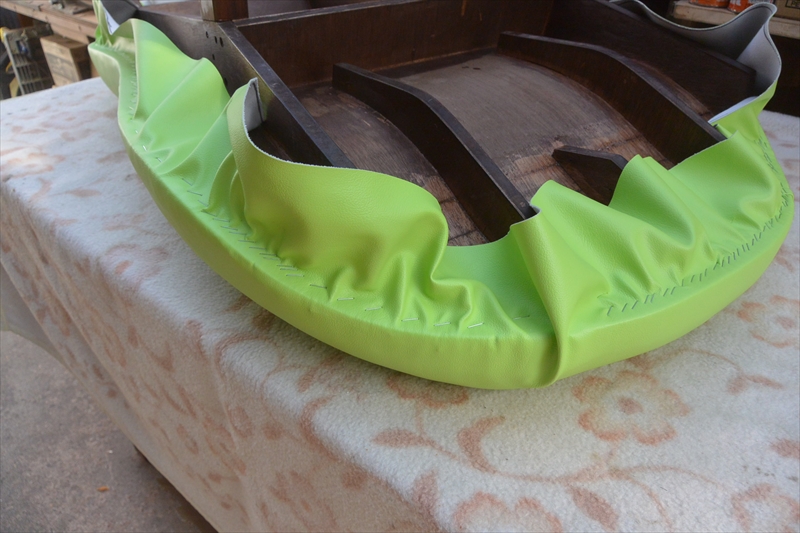
The lower side looks like this.
I cut off the excess dough.

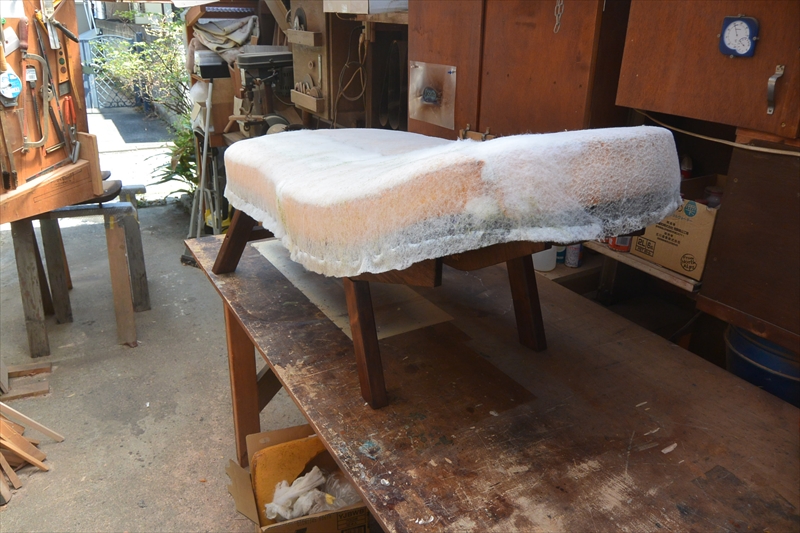
Next is the fabric upholstery of the leg rest. Spray 20 mm of cushioning material with a large amount of temporary filling agent and attach it, and cut off the outer circumference.
I finished pasting the cushion material. Since the leg rest interferes with the seat surface, the cushion is only this one layer.
And when you put the dough on the finish, it looks like this. Since it is a cubic curved surface with a sharp curve, there are many gathers.
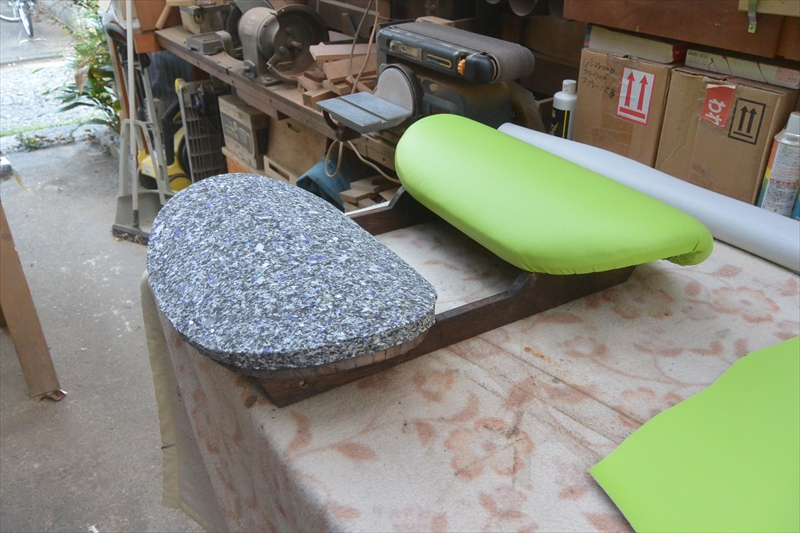
Next, put a cushion material on the other one.
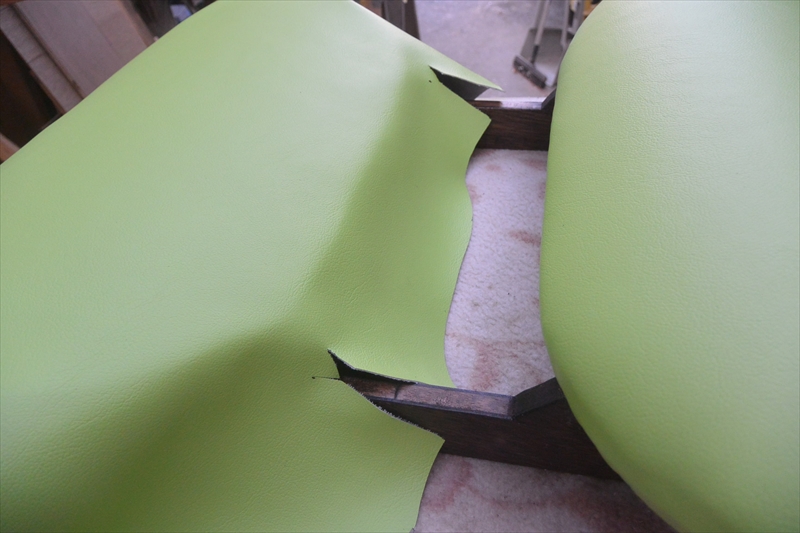
Make a notch in the part that hits the frame. Completed the upholstery.
(55)-4に続く
Continue to (55) -4