
寝椅子開発 4/4
/Development of chaise longue4/4

The tucker nails used this time have leg lengths of 6 mm, 10 mm, and 13 mm. A cotton tape for makeup is also available. It has a width of 15 mm.

Make up the edges of the fabric with this cotton tape and finish it.
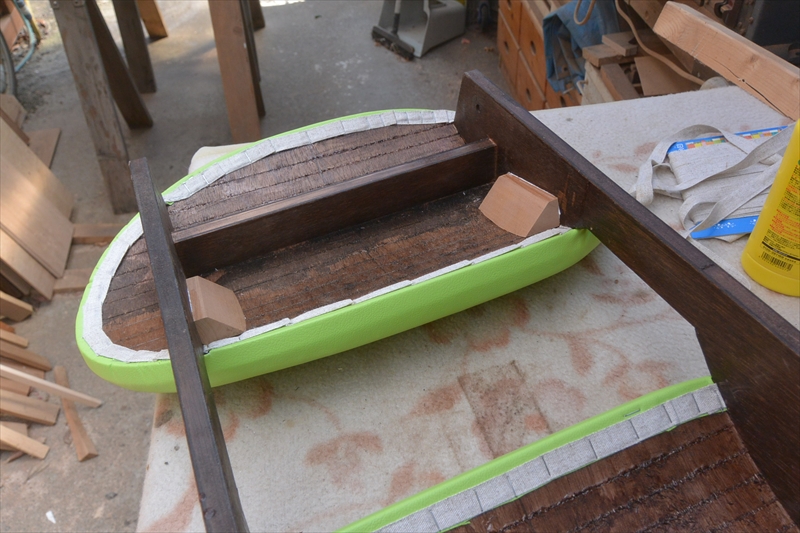
I finished taping all around.
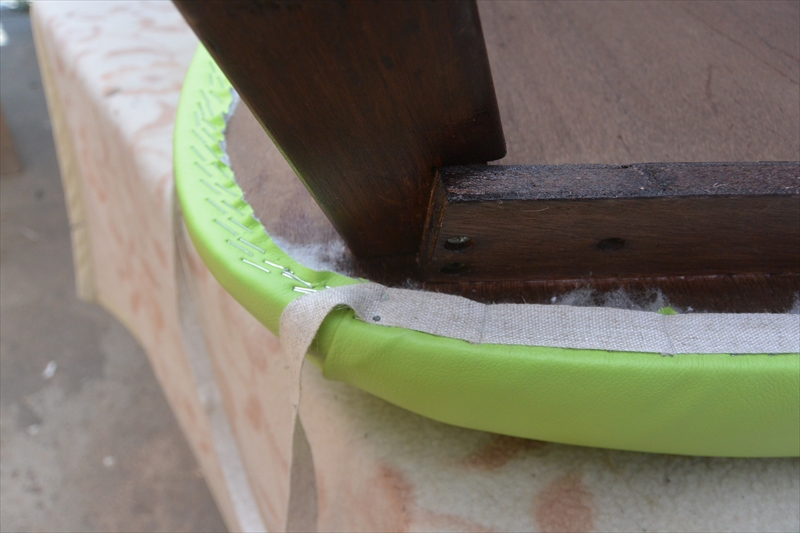
The tape decoration on the seat is the most difficult part. I can’t use the stapler because legs get in the way. I am dealing with it with a small nail and a hammer.
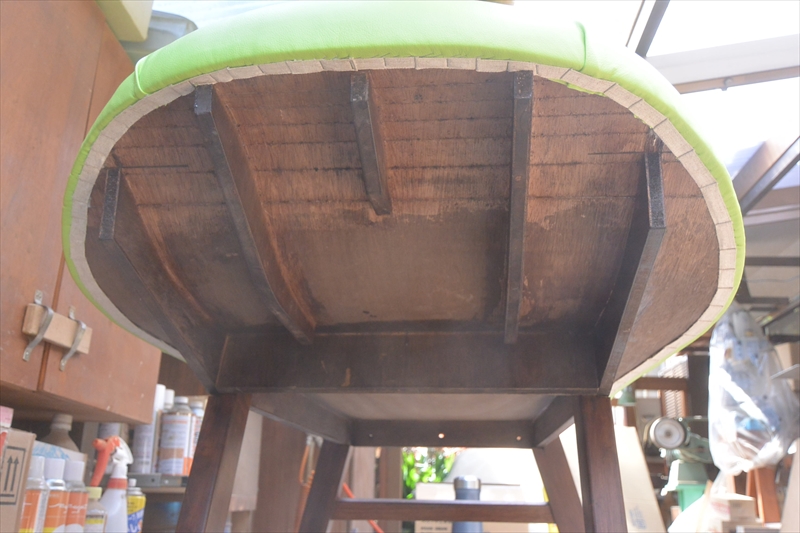
The taping decoration is completed. Seen from below, it looks like this.

Finally, apply hard felt to the bottom of the legs. It doesn’t scratch the floor and has moderate slippage and friction, so it’s the material I always use for the basic finish of the soles of chairs.
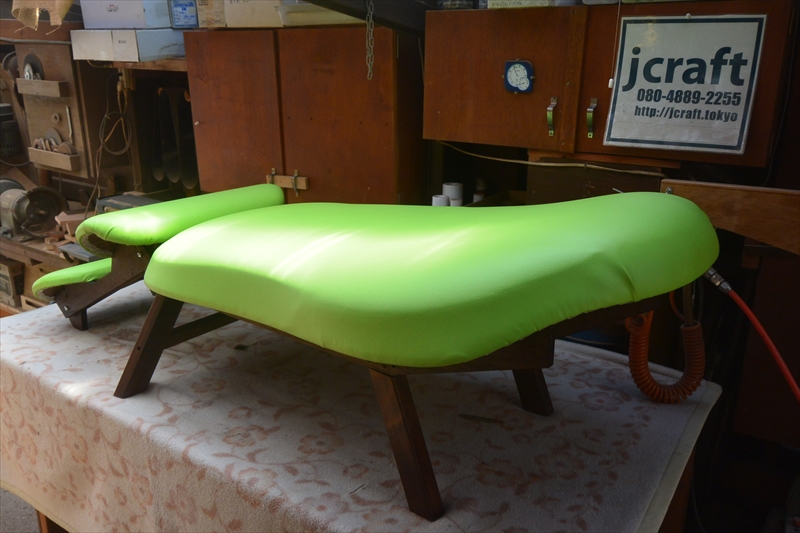
It was completed. I have just lowered the footrest.

Seen from the front, it looks like this.
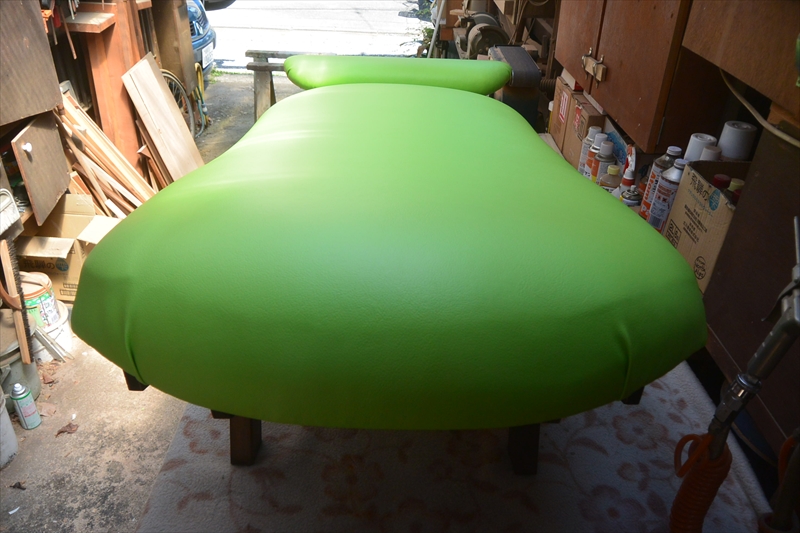
There is a good sense of volume when viewed from behind
やっとできた。早速一晩寝てみることにしました。
ところが、翌朝問題発覚です。
I finally finished it. I decided to go to bed overnight.
However, the problem was discovered the next morning.
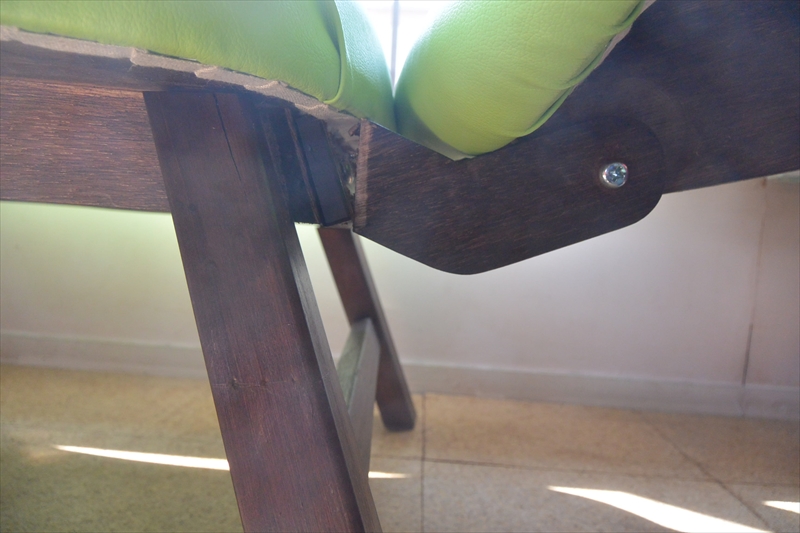
Surprisingly, the frame is damaged.
After removing the broken parts and observing closely, it was found that the wood screws struck to reinforce the joint were removed cleanly. The core material of the lumbar core is soft and the effect of the screw is weak..
では、一晩使ってみた具合は?というと「どうも違和感があります。」
うーむ・・・そこでよく考えてみるとクッションの厚さを決めた時に誤りがあったことに気づきました。座面には20mmと90mmのクッション材を2重貼りしているのに、脚載せ台には20mmのクッション材しか貼ってません。その差90mm。スケッチで目標にした形より、脚載せ台が90mmも低いのです。
ならば、修正の作業の開始です。
Then, when I tried using it overnight, “I feel something is wrong.”
Hmm …When I thought about it, I realized that there was an error when deciding the thickness of the cushion. Although 20mm and 90mm cushioning materials are double-pasted on the seat surface, only 20mm cushioning material is pasted on the leg rest. The difference is 90mm. The leg rest is 90mm lower than the shape targeted in the sketch.
Then, the correction work is started.
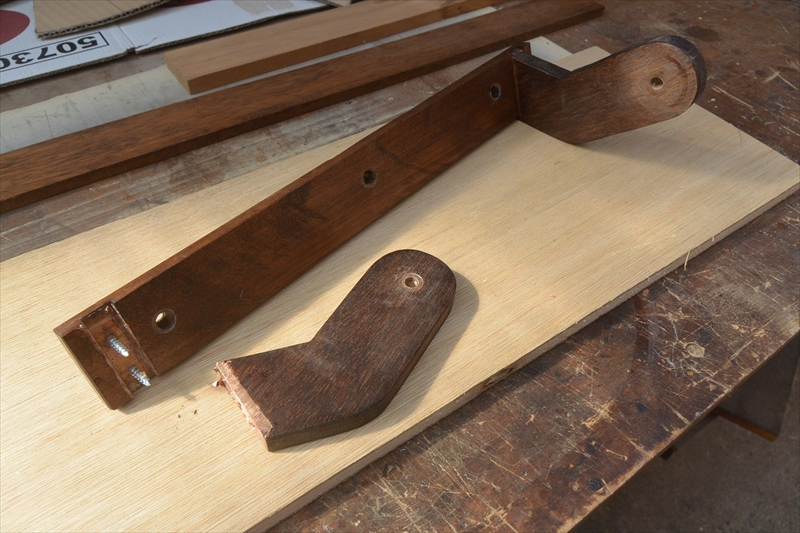
It is an improved part made of cherry wood. It is longer and the axis of rotation is 90 mm farther. When the axis of rotation is separated by 90 mm, the force applied to the joint is quadrupled or more due to the action of leverage. Since the strength was originally insufficient, it will not be practical unless the strength of this part is increased by about 8 times.
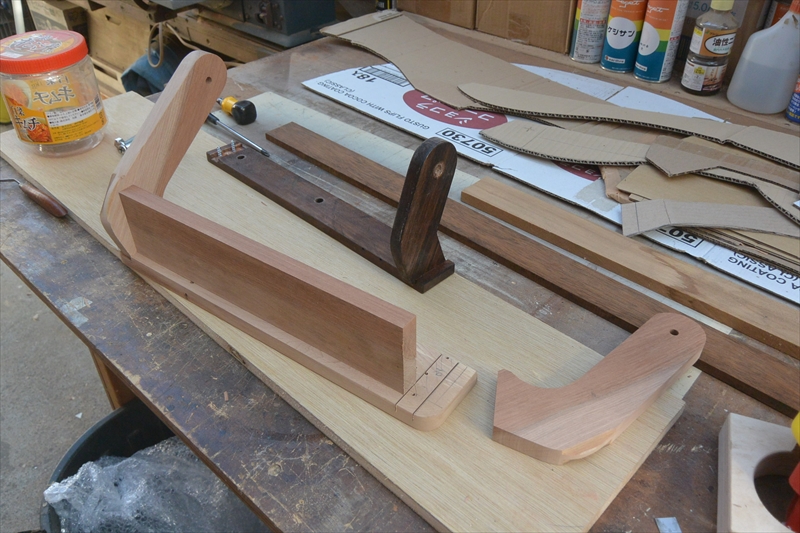
First, I changed the material to hard cherry wood. Sakura wood is hard and sticky, so the effectiveness of wood screws is much better. I have experienced many times in the past that I hit a screw with an impact driver on cherry wood and the screw was torn off. Although it is such a strong cherry tree, it will not be eight times stronger unless it is structurally improved. I have also improved the method of joining this part. I added a member that connects these left and right parts. Assemble from three sides of XYZ together with the base member. Moreover, since all three members are made of cherry wood, the screws that join each member work well, and the strength has increased dramatically.
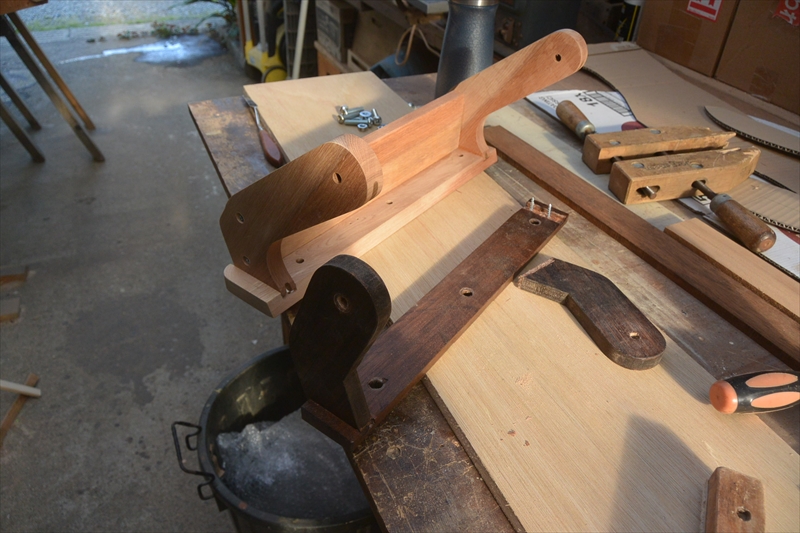
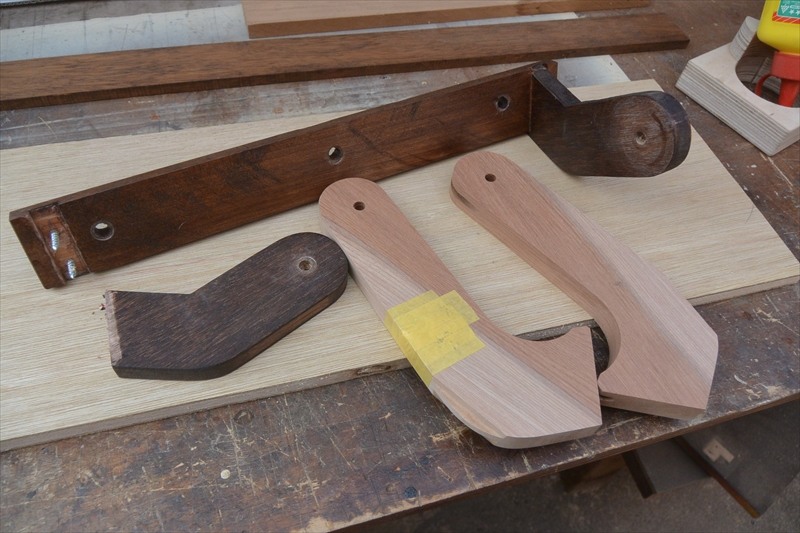
You can see that the strength is significantly increased when placed side by side with the damaged parts.
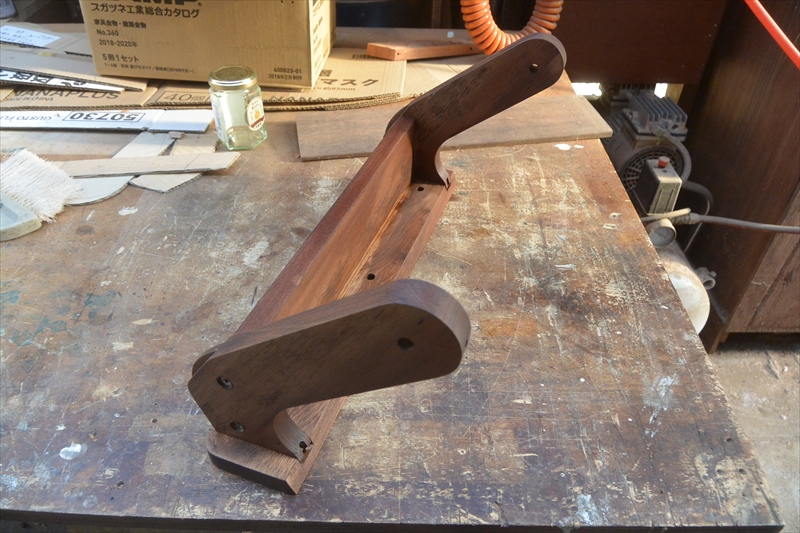
It has just been dyed in oak after assembly. Since it is made of cherry blossoms, it has a heavy feel and is heavy.

Next, I need to extend the legs of the footrest.
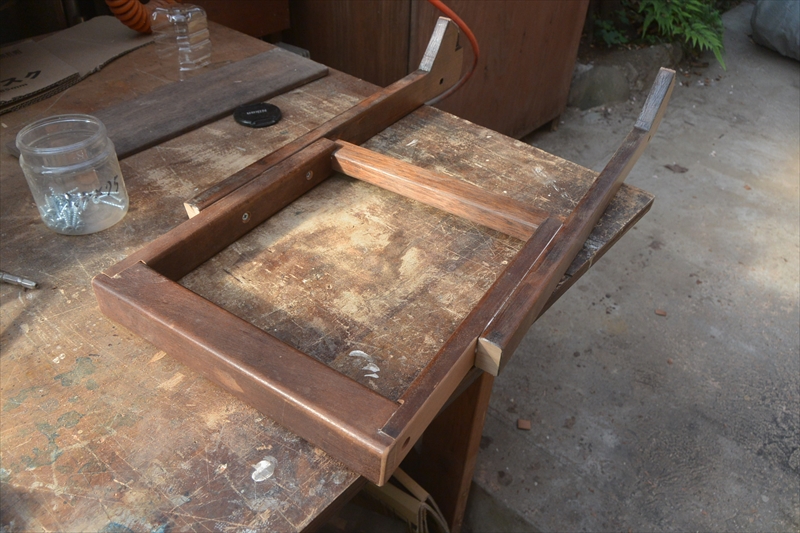
Similarly, I used cherry wood and assembled it in a grid pattern to increase its strength.
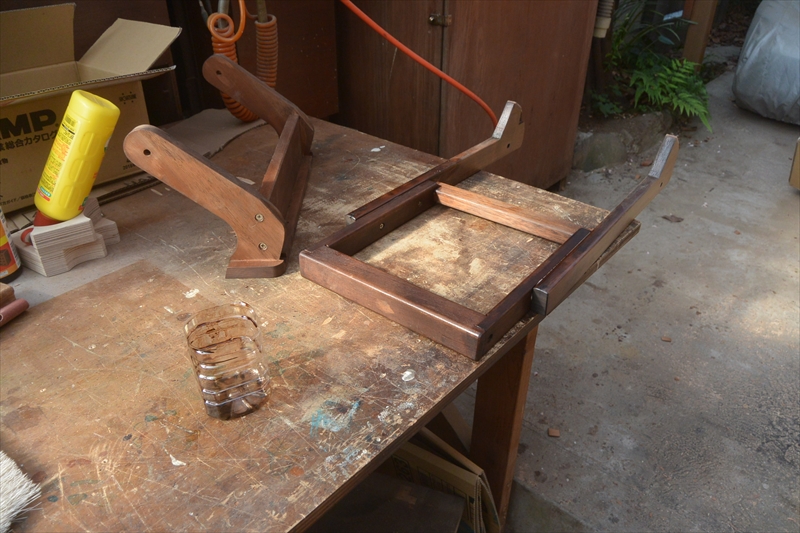
Similarly, dye it in oak color. Color stop and finish with a sanding sealer. Reassemble and try again.
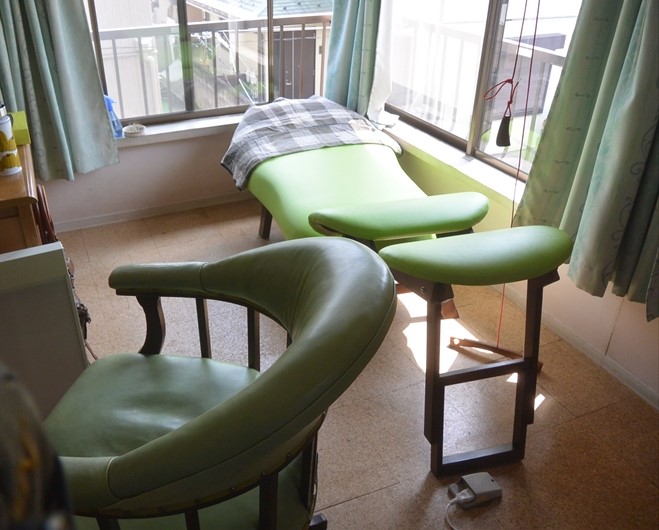
Bring it to the designated place. Connecting the leg mounts with screw nuts was also necessary to bring them to this window on the second floor.
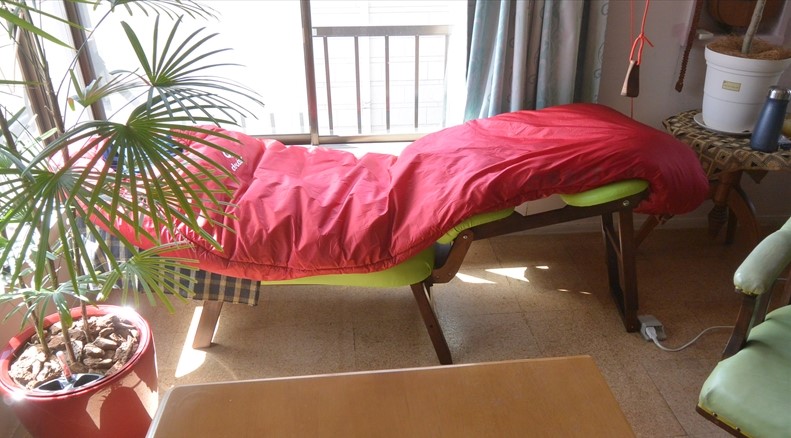
I slept in this chaise longue for two nights just in case, and it feels good. The color tone will be as unified as you want, and I will be satisfied. It goes well with the leather chair that I introduced in the previous case, and the design is almost as expected.

Completed photo
(55)終わり
(55) End